Death by Updates
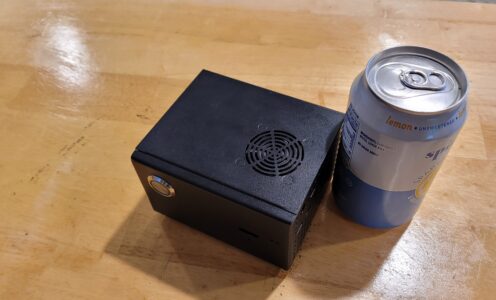
Up until the incident, social.ctsollars.com ran on a Raspberry Pi 4. The Pi itself sits in a cute little powered case designed to hold an SSD, which serves as the boot device and the root filesystem for the server.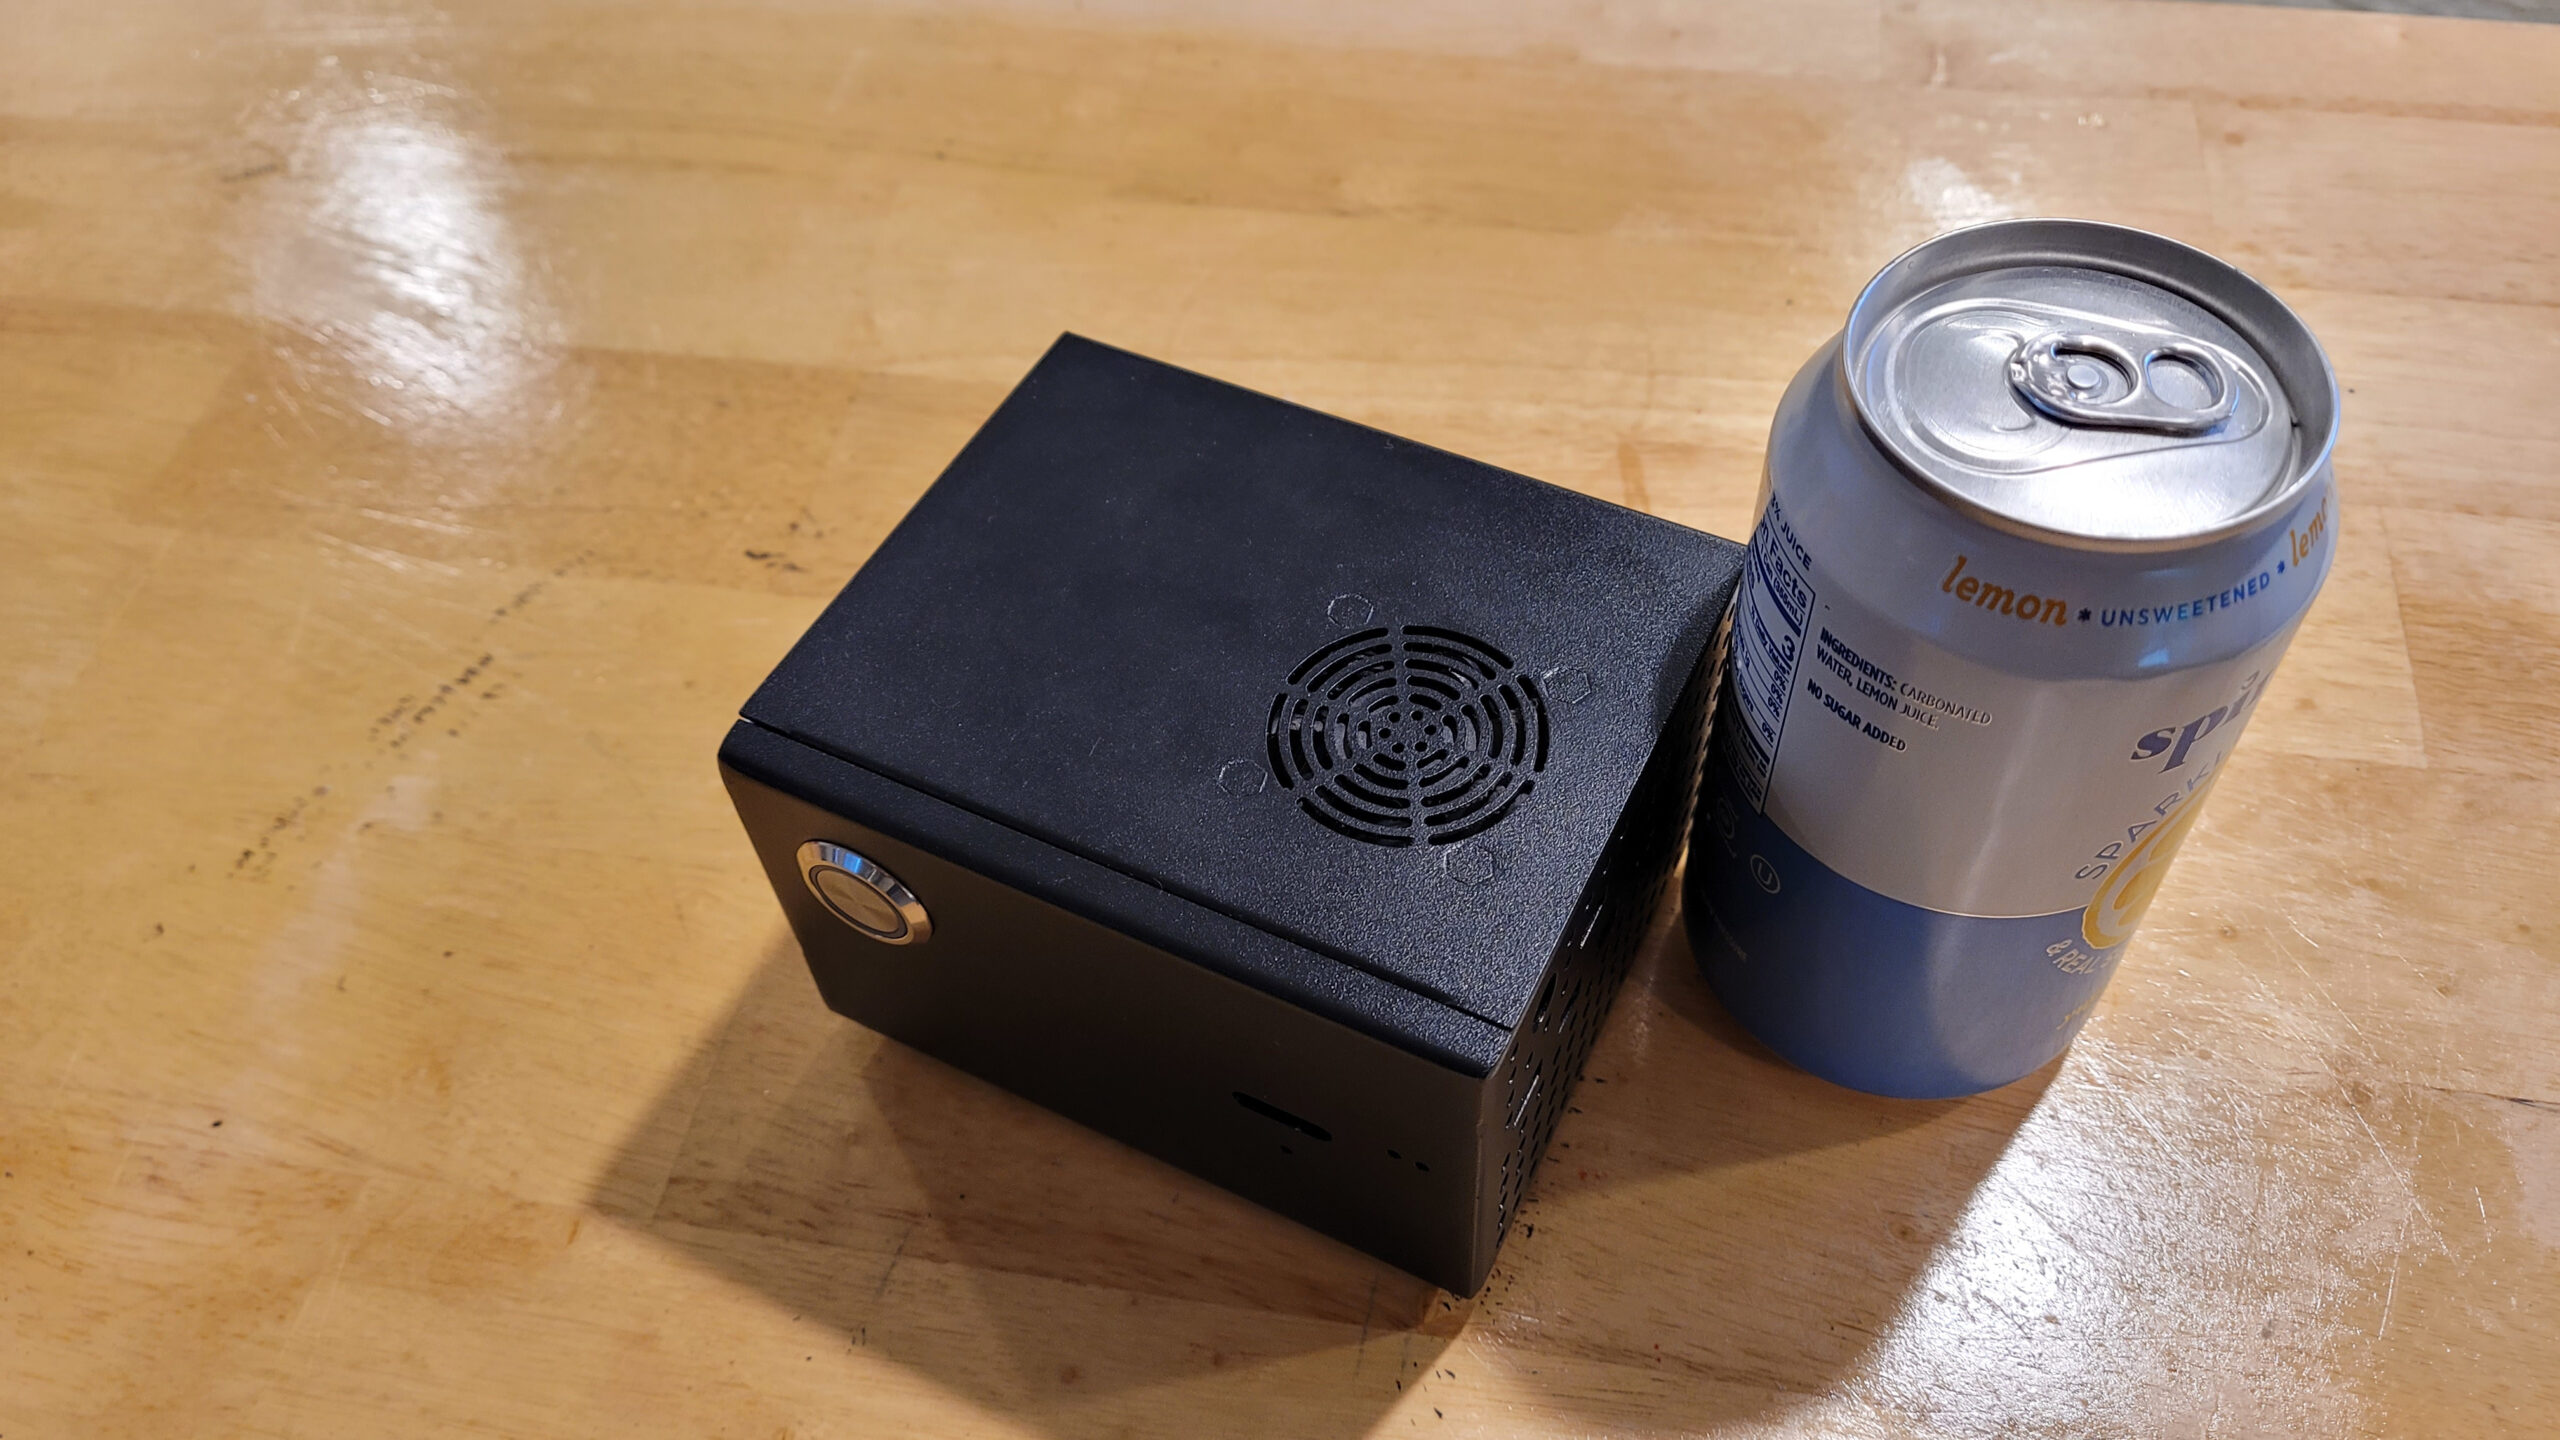
Initially booting the OS as installed failed. My suspicion was that somehow the system updates had interfered with the boot configuration, causing the Pi to no longer boot via the SSD, which was connected by USB. Normally the way to resolve this issue is to insert a MicroSD card with a bootable OS installed on it and power up the device. By default, the Pi will prefer to boot via MicroSD, if it is available. Thus Plan A began to take shape: Boot into the Pi with an alternative OS and reestablish the boot configuration such that the Pi will boot via SSD. It quickly became clear, unfortunately, that in the months since I had used my MicroSD card (which also served as a backup form my software stack and configuration) had become corrupt and was not longer usable in any way. With SSD boot no longer working, and my one correctly configured MicroSD being corrupt, Plan A took a detour. I now had to build a new bootable MicroSD.
Soon I had a my Pi booting into good ol’ vanilla Raspberry Pi OS. Pretty quickly it became apparent that something was terribly wrong. Neither my keyboard nor my mouse seemed to do anything. After swapping out several sets of keyboards and mouse (and a little Googling…) I reluctantly came to the conclusion that the USB ports on the Pi had died. This happens sometimes, apparently. Thus died Plan A.
Migration to another Home
With the USB ports being dead on the Pi, Plan B consisted of the next simplest solution: attempt to get one of my Raspberry Pi 3s to boot to the SSD. The tradeoff here would be ease of migration but with a loss of performance. For an application like Pleroma, which is touted as being very lightweight, the performance loss should not be too big of a problem. A little research, however, revealed that I don’t have a Pi 3 in my possession which supports USB boot. Thus died Plan B.Plan C was the last possible hope of recovering the information stored on my SSD: attempt to clone the setup from the SSD onto another server. This plan actually breaks down into several distinct parts:
- Copy the PostgreSql data and configuration
- Copy the Pleroma files and configuration
- Copy the Nginx configuration
Moving the Database
The plan for moving the database consisted of 2 basic steps:- Install PostgreSql on the target machine
- Replace the data files at
/var/lib/postgreswith the files from the Pi’s SSD
The workaround was to execute steps 1.A and 1.B on an extra Raspberry Pi, generate a snapshot, and load that snapshot onto the target machine. Thus:
- Install Postgres on a substitute Raspberry Pi
- Replace the data files at
/var/lib/postgreswith the files from the Pi’s SSD - Generate a snapshot file of the Pleroma database
- Install install Postgres on the target machine
- Load the generated snapshot into a new database on the target machine
/var/lib/postgres. One complexity with Postgres over MySql is the requirement to run the psql command as the user postgres user. Aside from that, there was a slight discrepancy with the UIDs of the files, but the whole process could be summarized with the following commands:
# service postgresql stop
# rsync -a /mnt/external_ssd/var/lib/postgres/ /var/lib/postgres
# chown -R postgres /var/lib/postgres
# service postgresql start
# su postgres -s $SHELL -c pg_dump pleroma > /mnt/external_ssd/postgres.pqsl# apt-get install postgresql
# su postgres -s $SHELL -c psql
postgres=# CREATE DATABASE pleroma;
postgres=# \q
# su postgres -s $SHELL -c psql -d pleroma < /mnt/external_ssd/pleroma.psqlpleroma user, which resulted in many frustrating errors. But as soon as I imported my snapshot with the postgres user, it worked like a charm.
Moving Pleroma
Moving Pleroma was pretty simple, but consisted of a lot of fiddly little steps. Pleroma’s file base is taken from github directly. It runs on Erlang and has a package / dependency manager called Mix. It runs by default on port 4000 and runs as its own user which has its own user directory. Additionally, it is designed to be started and run as SystemD service, for which the Pleroma team has provided configuration files. So the transfer process basically breaks down into the following steps, some of which were taken directly from the official installation instructions:- Install Pleroma dependencies
- Copy base files / git repository
- Refresh system specific Erlang dependencies
- Create a new pleroma user
- Copy pleroma configs from
/var/lib/pleroma - Add a Postgres User for Pleroma
- Set up SystemD service for Pleroma
# apt install curl unzip libncurses5 postgresql postgresql-contrib nginx certbot libmagic-dev
# apt install imagemagick ffmpeg libimage-exiftool-perl# mkdir /opt/pleroma
# rsync -a /mnt/external_ssd/opt/pleroma /opt/pleroma
# cd /opt/pleroma
# rm -Rf deps
# mix deps.mix# adduser --system --shell /bin/false --home /opt/pleroma pleroma# cp -r /mnt/external_ssd/var/lib/pleroma /var/lib/
# chown -R pleroma /opt/pleroma
# chown -R pleroma /var/lib/pleroma# su postgres -s $SHELL -lc "psql -f /opt/pleroma/config/setup_db.psql"# cp /opt/pleroma/installation/pleroma.service /etc/systemd/system/pleroma.service
# systemctl start pleroma
# systemctl enable pleromaConfiguring Nginx
The only thing about setting up Nginx that isn’t completely obvious at first is that the SSL certificates and keys must be moved over as well. Since I’m moving over the certificates, I decided I may as well move the whole Certbot configuration as well, so that my certificates continue to auto-renew. Thus, step 3 breaks down into 3 parts:- Install Certbot
- Overwrite vanilla certbot
/etcfolder - Install Nginx
- Add configuration from source server
# apt-get install certbot
# rsync -a /mnt/external_ssd/etc/letsencrypt/ /etc/letsencrypt/
# apt-get install nginx
# cp /mnt/external_ssd/etc/nginx/sites-available/pleroma.conf /etc/nginx/sites-available/
# ln -s /etc/nginx/sites-available/pleroma.conf /etc/nginx/sites-enabled/
# nginx -t
# service nginx reload- Copy the PostgreSql data and configuration
- Install Postgres on a substitute Raspberry Pi
- Replace the data files at
/var/lib/postgreswith the files from the Pi’s SSD - Generate a snapshot file of the Pleroma database
- Install install Postgres on the target machine
- Load the generated snapshot into a new database on the target machine
- Copy the Pleroma files and configuration
- Install Pleroma dependencies
- Copy base files / git repository
- Refresh system specific Erlang dependencies
- Create a new pleroma user
- Copy pleroma configs from
/var/lib/pleroma - Add a Postgres User for Pleroma
- Set up SystemD service for Pleroma
- Copy the Nginx configuration
- Install Certbot
- Overwrite vanilla certbot
/etcfolder - Install Nginx
- Add configuration from source server